
Keep Your Commercial Kitchen Appliances Running Longer!
28th Jan 2020
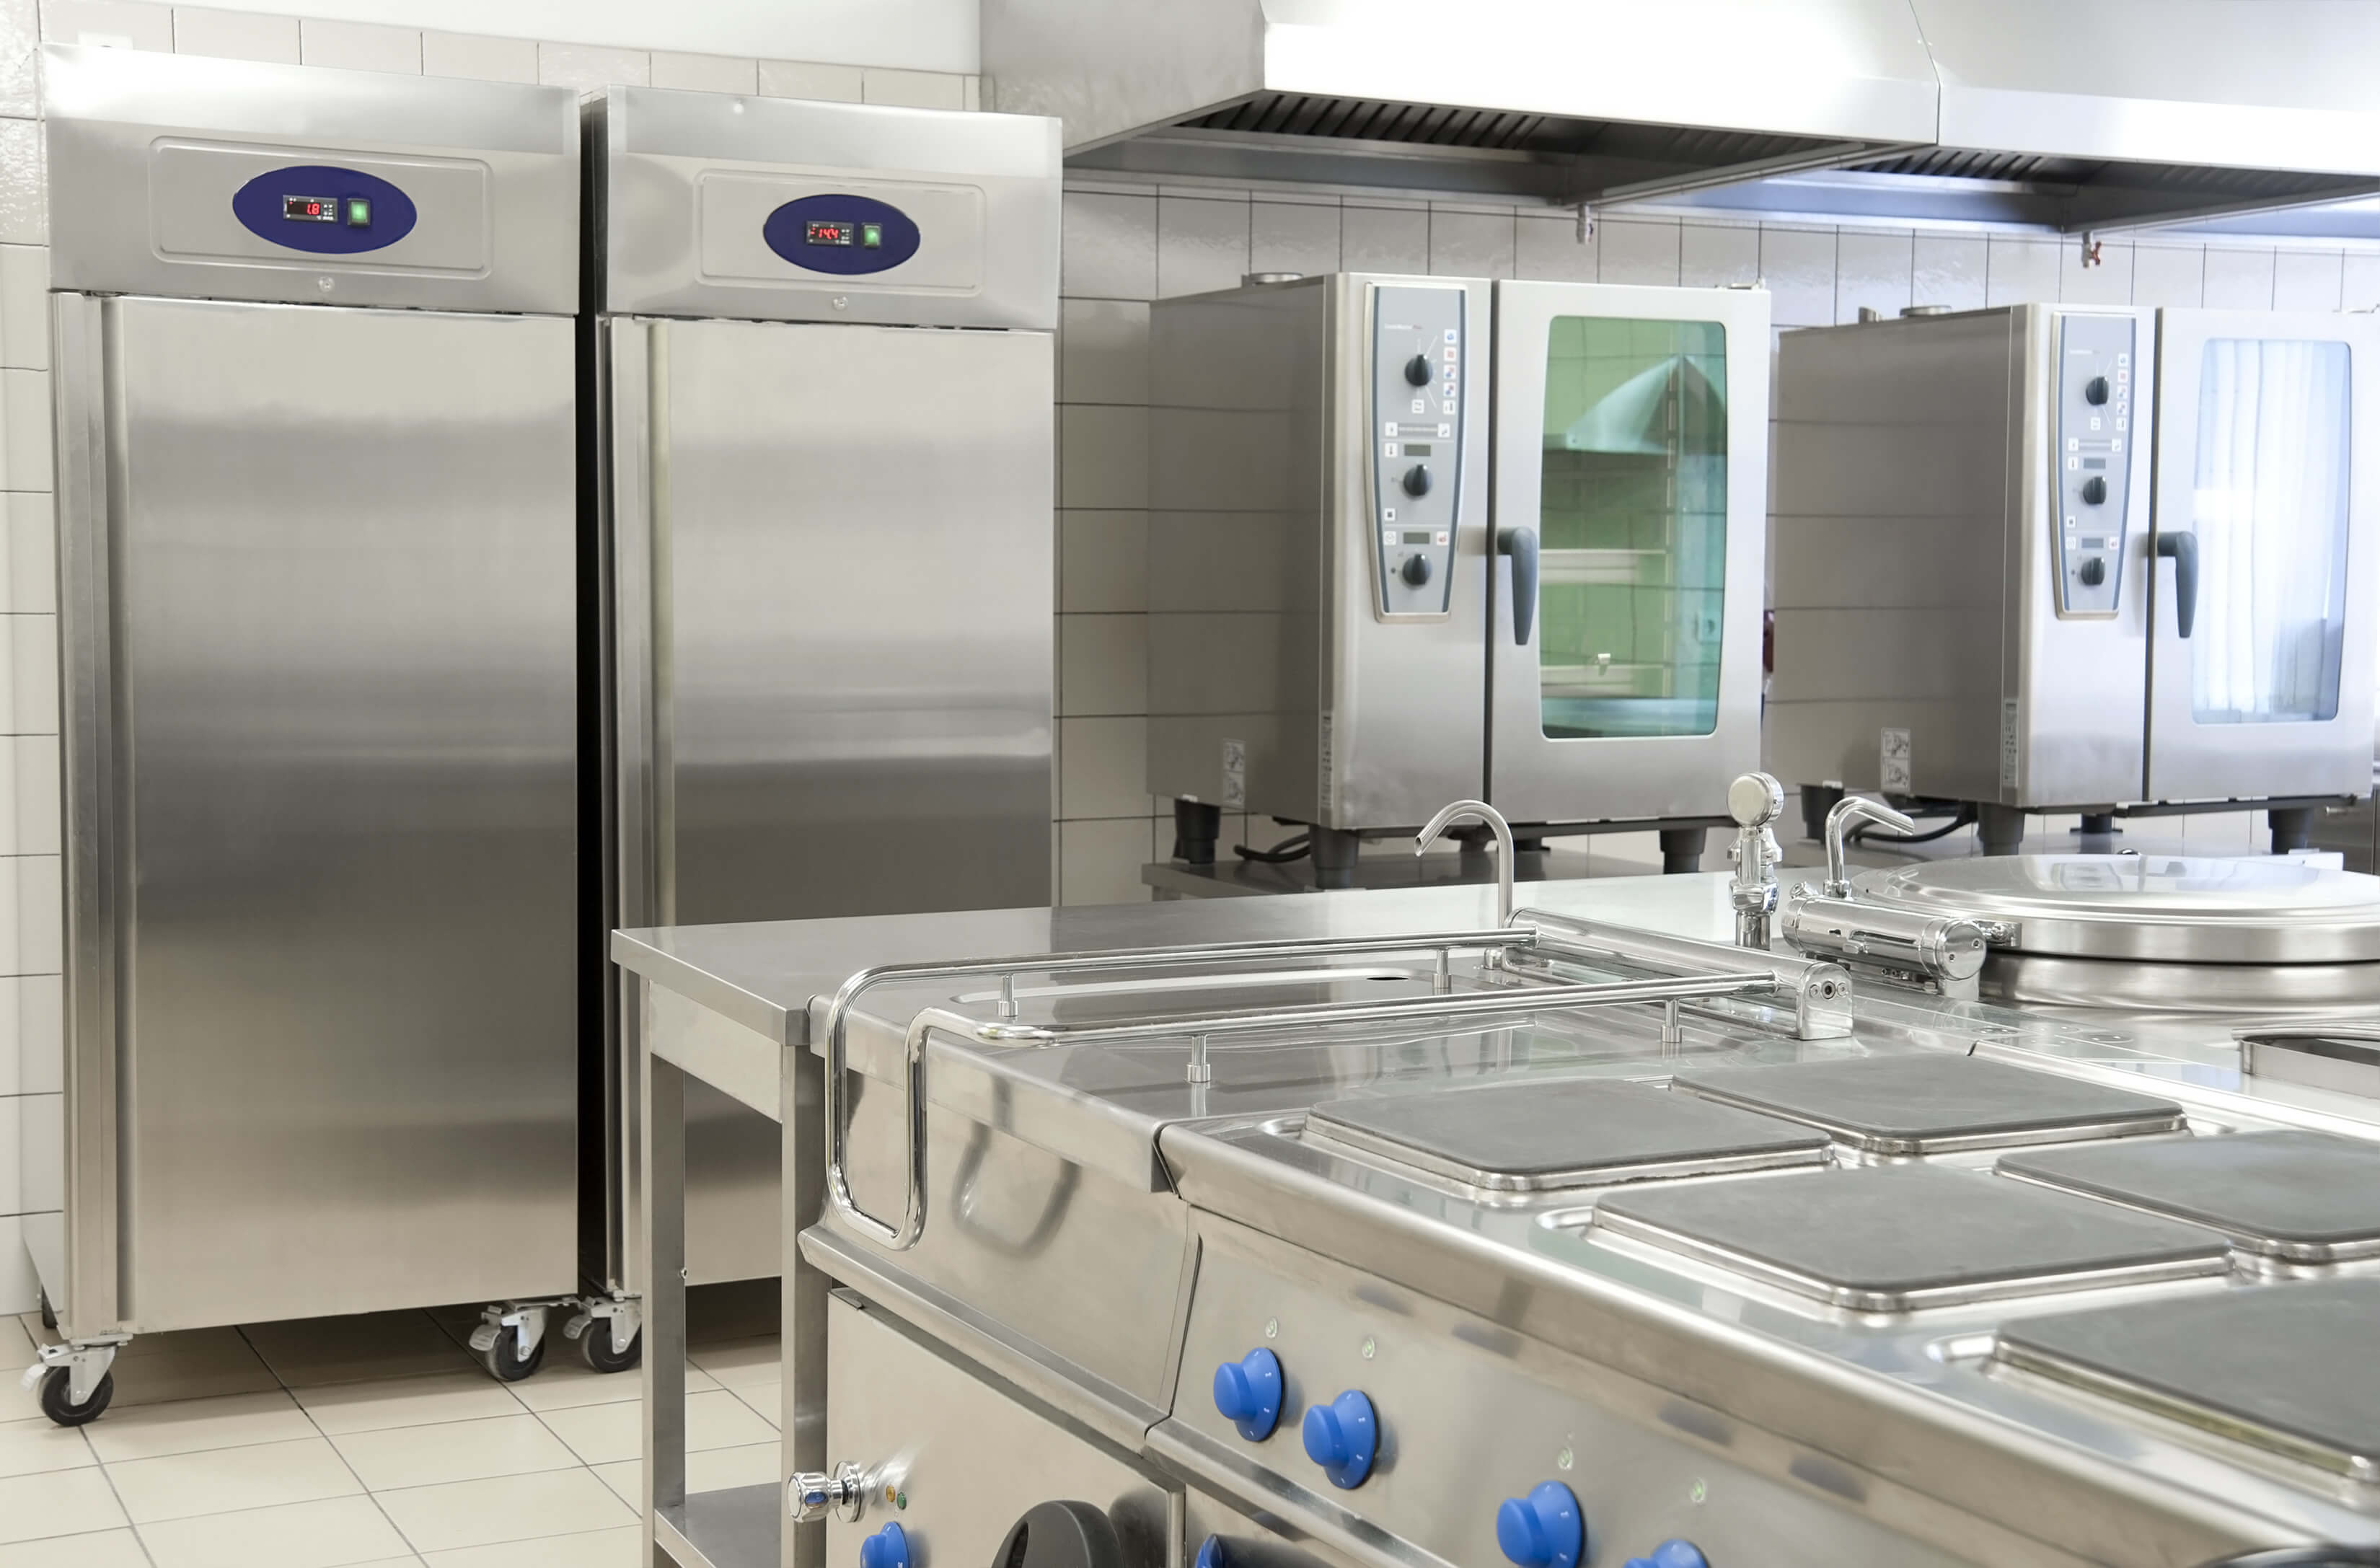
Commercial kitchens are engineering marvels. They are full of hard-working machines made to withstand years of constant use at high temperatures. Industrial range hoods work to remove smoke and soot out of the kitchen, while walk-in freezers allow you to keep food frozen just a few feet away from the area where food is seared at high temperatures. Although many people know how to operate commercial appliances, not many understand how they work, how to maintain them, or what to do when they stop working.
Whether you purchased new or used commercial kitchen appliances, you’ve invested a lot in your restaurant or commercial food prep area. That’s why regular cleaning, maintenance, and repairs are so important. By scheduling care and upkeep for all your appliances, you’re extending your investment by years. When you take the time to understand how your appliances work, and to learn how to complete simple repairs on the spot, you save time and money. And by taking charge of simple repairs, you ensure that your appliances won’t be out of service for long.
While cleaning is the first step in extending the life of your appliances, the care of these commercial machines must go beyond soap and water. You’ll also conduct regular checks on parts, performance, and calibration to maintain the efficiency of your industrial units, and to make sure they remain in good working order.
Unlike home appliances, commercial kitchen appliances go through a beating every day. Even if cooks and kitchen workers are careful with the equipment, the constant use means that these appliances must work exponentially harder than consumer appliances. To make things more complicated, any type of appliance failure can result in several negative operational challenges or can mean closing down for repairs.
The good news is that your commercial kitchen or restaurant can make regular maintenance a priority, which helps you prevent costly failures, expensive breakdowns, and keep appliances running at maximum efficiency.
While each commercial kitchen has its own combination of appliances, some commercial units are more common than others. These include:
- Commercial Refrigerators, Freezers, and Walk-Ins
- Commercial Ranges, Griddles, and Grills
- Commercial Convection Ovens
- Commercial Blenders
- Commercial Deep Fryers
You may also have a microwave oven, a commercial steamer, a commercial mixer, a commercial ice machine, a commercial garbage disposal unit. But in this article, we’re going to focus on maintenance and repair of the first five appliances listed: the commercial refrigerator, commercial range, commercial convection oven, commercial blender, and commercial deep fryer.
While we have done our best to provide sound guidance and easy-to-understand direction on maintenance and repairs, each model is slightly different. Make sure you study the user manual supplied by the manufacturer of the appliances. If you purchased a second-hand machine, you can usually locate the manual on the manufacturer’s website or by contacting the manufacturer directly. Online videos are also helpful.
Studying your appliance’s manual will help you understand more about the best way to install a machine, how to maintain it, how to clean the appliance. Some even offer troubleshooting guides and give directions on how to make simple repairs. The better you know your commercial kitchen appliances, the better you will be able to care for them for years to come.
Five Basic Maintenance Tips
While you can do many simple repairs on your own, major repairs on commercial kitchen appliances can be costly. That’s why it makes send to keep up on basic maintenance tasks. With a little care and attention, your commercial unit will run more reliably, and last longer. While each appliance might have dozens of maintenance tasks to complete, there are a few categories of regular maintenance that can prevent many types of breakdowns.
1. Clean Condenser Coils
Keep your condenser coils clean to prolong the life of your commercial refrigerator, freezer, or walk-in. Make sure you can access the coils easily for regular vacuuming and removing dust and debris. Keep them a few inches away from the wall or floor. The condenser coils are designed to remove heat from the refrigeration system, and if they are covered in dust, the unit can overheat, damaging the system. Be safe, and always unplug your appliance before cleaning compressor coils.
The same applies to the condenser coils on your freezer (and your air conditioning units.) Clean condenser coils mean your equipment will be work better, be less expensive to operate, and last longer. Check your users’ manual to see if your condenser coils need any special treatment or care.
2. Check Gaskets and Seals
Many commercial kitchen appliances use gaskets to create a tight seal on the doors of refrigeration equipment. Gaskets are soft and flexible, creating a tight seal when the door is closed on your refrigerator, freezer, or commercial over. Because your staff needs to open and close these doors continually, the gaskets become worn over time and start to change shape. When this happens, they lose their ability to create air-tight seals.
Some chains of commercial kitchens schedule professionals to go from location to location, changing out gaskets regularly. But unless you have dozens of sites, you or your employees may be able to save money by doing the maintenance yourself. Scheduling weekly checks for cracks and tears will give you a good idea of the shape of your gaskets and seal.
If you notice the gasket is not working or the seal is not tight, replace it immediately, Gaskets are inexpensive and easy to replace. It’s smart to order a few extra and keep them on hand.
To find the right replacement gasket for your unit, consult the parts diagram or manual that came with your equipment, or check McCombs Supply using the model number to search for your part.
3. Clean or Replace Air Filters and Grease Filters
Cleaning and changing filters are usually pretty easy, and replacement filters are often inexpensive. But some commercial kitchens still skimp on regular maintenance. However, if the filters become clogged with debris, it not only diminishes the performance of your appliances, it can result in failure.
In the case of hood ranges and exterior filter, build-ups of grease and grime can also become a real fire hazard.
Many range hood filters are reusable, and simply need to be cleaned regularly, using hot soapy water. Many air filters are reusable or can be cleaned and used many times again. Check the users’ manual to locate the filter and to get tips on how often to clean or replace them.
4. Use Water Filters
Make sure that all your water hookups use filtrated water. If you use unfiltered water, over time, you risk lime and scale buildups, which can result in lime or scale building up in the parts of your equipment. This kind of buildup is one of the most common causes of appliance failure and cause significant damage.
So, use filtrated water and make sure to replace water filter cartridges regularly. Write the date of installation on your filter cartridges to make sure you replace them on schedule. Check your users’ manual for recommended usage cycles.
5. Inspect Gas Hoses
Commercial gas hoses are pretty durable, but when equipment is moved and cleaned, hoses get stretched, stressed, and eventually wear out. To keep gas hoses in good shape, make sure they are the appropriate length to allow for moving equipment with pulling or pinching. You may be able to install gas fittings that swivel to make it easy to unhook and reinstall hoses during cleaning sessions. And if your gas hose looks worn or brittle, play it safe and replace it. New tubes are inexpensive and easy to find on our website.
Commercial restaurant equipment is a significant investment that you can protect by performing essential maintenance and prevention. By replacing and cleaning certain components, you can prevent a major service call and save yourself time and money
Commercial Refrigeration Maintenance and Repair
Commercial refrigerators and freezers, whether they’re under the bar or a big walk-in model, are made to be durable, work hard, and long-lasting. They need regular maintenance but are usually pretty sturdy. However, any commercial kitchen appliances occasionally malfunction and need repairs. While routine maintenance is the key to maintaining the longevity of your industrial refrigeration equipment, we’ve also provided some tips to use when the inevitable repair is needed.
Clean the Gaskets As mentioned earlier, in this article, checking the gasket is simple and easy to remedy if you discover an issue. Splits, cracks, or warps allow cold air to escape, which not only increases your utility costs; it may compromise food safety. To prolong the life of your gaskets, make sure they are regularly wiped down with soap and water. Dirt and grease quickly degrade gaskets and compromise the performance of your commercial refrigeration units.
Clean the Condenser and Evaporator Coils
Don’t forget to clean the coils.The condenser and evaporator coils must be inspected and cleaned regularly. Dusty or grimy coils can overheat, caused the appliance to overheat or break down. Inspect coils monthly and use a brush and shop vacuum to keep your coils clean.
Clean Drain Pans and Tubes Clean drain pans and tubes regularly to keep them free of debris. Whether it’s a refrigerator, walk-in cooler, or freezer, refrigeration units can buildup of produce slime or sludge in tubes and drain pans. When this happens, the units can freeze up. Clogged tubes can get damaged by blockage. When this happens, replace them.
Keep Refrigeration Units Clean and Dry
For best performance, keep all surfaces in walk-in coolers and freezers clean and dry. It’s especially important to keep the floors of the units clean and dry to prevent coils from freezing up.
Don’t use Extension Cords Commercial kitchen refrigeration units use a lot of power, and extension cords may not be able to provide enough power. They also present a fire hazard.
Check the Power Switch If your unit is not powering up or cooling, check the power switch on the unit first. Many commercial units have an on/off switch. If your unit’s switch has flipped over, there may be electrical issues with the unit or the power source.
Trouble-Shooting Temperature Issues
There are many things you can do to fix issues related to cooling or freezing. Make sure your commercial appliance is placed at least an inch away from the wall to give it room to circulate air properly. Make sure your gaskets are tight and sealing correctly. And make sure the temperature control gauge is accurate and providing correct readings. The temperature gauge easy to replace, and McCombs Supply has many models available.
Clean the Refrigerator’s Compressor Complete this task every 90 days or check your users’ manual for guidelines. Grease, grime, and more may build up on the compressor, making it run hot, and prevent it from functioning correctly.
Clean or Replace Air Filters Regularly check air filters and make sure they are clean and free from debris. Whether you’re using a refrigerator, freezer, or ice machine, check filters regularly and clean or change them as needed. Dust and grease inhibit ventilation, reducing performance, and causing them to work harder or even overheat. It’s relatively simple to clean reusable filters. Use a shop vacuum to remove dust and apply a degreasing solution to remove grease and grime. As always, check your users’ manual for specific instructions or special considerations.
Identify Issues with the Evaporator Fan
To check if your evaporator fan is running correctly, start by turning off the unit. If ice is present, let it melt off the evaporator. Then make sure the coils of the evaporator are clean. If you need to clean the coils, refer to your users’ manual for the best cleaning process for your model. Next, check the drain lines to make sure they are free of dirt or debris. Replace any worn or cracked drain lines.
If only a part of the evaporator coil is freezing up, you might have a low charge. The writers at Contracting Business offer this advice,
“To check subcooling, attach a thermometer to the liquid line near the condenser. Take the head pressure and convert it to temperature on a temperature/pressure chart. Subtract the two numbers to get the subcooling. For example, 275 psi head pressure on an R-22 system converts to 124F .”
Use the Right Bulbs
If the lights aren’t working in your unit, replacing a bulb can be pretty straightforward. If you need to replace a bulb, check your users’ manual, and make sure it’s verified and approved by your equipment’s manufacturer. The wrong bulb can cause the electrical sockets to burn out.
Commercial Ranges, Griddles, and Grills
In commercial kitchens, the ranges, griddles, and grills are often the most hard-working part of the kitchen. They are subject to grease and impact with metal spatulas and pans. They also come into contact with all kinds of liquids, from pancake batter to splashes of soups and sauces. But they’re also one of the most expensive pieces of equipment in any commercial kitchen, and they require a lot of maintenance to help them last longer and work more efficiently.
Clean Thoroughly, Every Day
You must clean your burners, grates, or flattops throughout the day, every day, and thoroughly at least once a day. Make sure every surface is scrubbed or wiped down daily. It’s also important to check drip trays or areas underneath your burner or grates frequently.
Schedule a more intensive cleaning weekly or monthly, depending on the volume of your kitchen, and depending on whether you use ingredients are exceptionally messy. Monthly cleaning might include soaking the grates in hot, soapy water to strip them of all grease buildup. Check under the unit and behind it and remove any greasy buildup.
Keep Your Range Hood or Grease Hood Clean
Commercial kitchens have hard-working ventilation and exhaust systems known as range hoods, grease hoods, or exhaust fans. These are placed over ranges, griddles, or grills to remove heat, moisture, smoke, and odors.In a commercial kitchen, the ventilation system provided by the range hood works independently with the building’s HVAC system. Together, they will provide a clean flow of air throughout the building. The powerful range hood is also designed to provide a negative air pressure that keeps the heat and odors in the kitchen, and away from the dining area or other parts of the building.
Range hoods also attract airborne grease and grime. That means they get clogged up quickly. Built-up grease and grime will restrict airflow and make the engines run harder, or even overheat. The more often this happens, the more the engines wear, and the more likely they are to stop working. Keeping your hoods and filters clean will extend the life of your system significantly.
Improper ventilation or extreme grease buildup is also a common cause of fires in commercial kitchens. According to National Fire Protection Test & Inspect (NFPTI),
“One of the primary defenses against fire hazards in any commercial kitchen is regular maintenance of the kitchen hood and exhaust system.”
Even if you are not the one inspecting the range hood for proper maintenance, there are a few easy-to-spot warning signals of blocked ventilation, including:
- Lingering smoke Lingering haze in the kitchen or dining area
- Odors in the dining area
- Odors from outside come into the building
- Problems keeping the temperature stable in the dining area
- Unusual heat in the kitchen area
Clean your filters regularly. Depending upon your operation, that may be daily. Wash all surfaces of the hood with soapy water daily or weekly. Replace filters when needed, and make sure the motors are working correctly. Keep a working fire extinguisher nearby, and make sure your crew knows how to use it.
Commercial Convection Ovens Maintenance and Repair
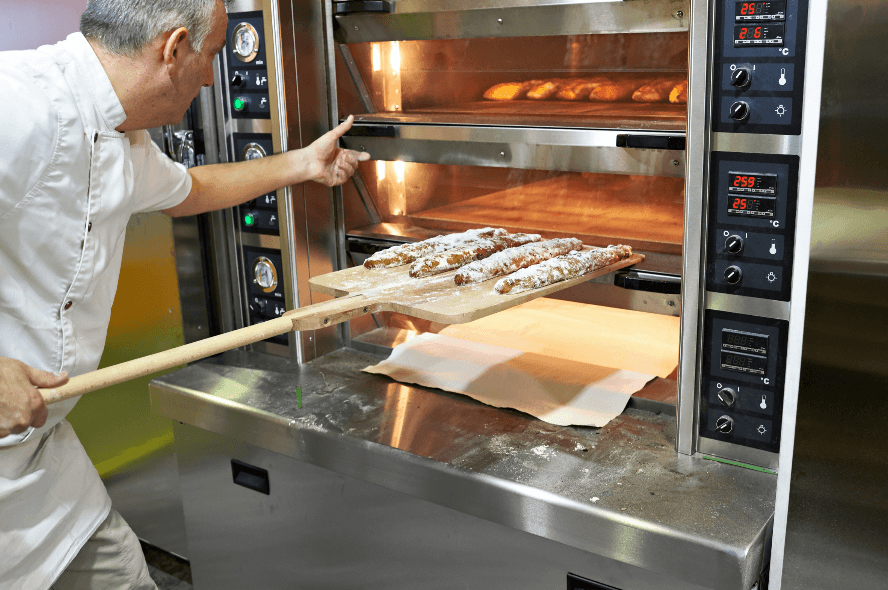
While there are many differences between a commercial kitchen and a consumer kitchen, one of the most striking contrasts is the commercial convection over. These hard-working, industrial machines are one of the most widely used appliances in the food-service and restaurant industries. Whether baking bread from scratch or baking trays of premade lasagna, the convection oven allows professional kitchens the flexibility, space, and power to cook on a commercial scale.
They’re also a substantial investment. That’s why it’s so important to keep these workhorses in top shape for as long as possible. The good news is that by regularly completing preventative maintenance, and becoming familiar with some common repair issues, you can substantially extend the life and productivity of your commercial oven.
Keep Your Oven Clean
For almost every category discussed in this article, we’re going to urge you to keep your appliances clean. Grease and grime are not just health issues. Old food particles can smolder or catch fire, causing smoke. Food particles, grease, and grime also clog tubes, corrode wiring, promote rust, and interfere with the oven’s ability to sense and regulate heat.
Throughout the day, it’s smart to wipe up spills inside the oven immediately whenever it can be safely done. Removing spills quickly prevents them from becoming baked on the surface or affecting cooking temperatures. At the end or beginning of every day, when the oven is cool, wipe out the oven’s interior. Usually, soap and water is a good choice but check your users’ manual for recommendations. Remove oven racks and soak them in hot, soapy water to remove grease buildup and to loosen baked-on food particles. Rinse, dry, and replace in a clean oven.
Schedule a weekly cleaning of the exterior of the oven. Wipe down with hot, soapy water and use a soft brush to remove any stubborn grease or baked-on bits of food.
Make Sure the Door Closes Tightly
Maintaining a constant, steady temperature is vital to consistent baking and cooking results. Each day when cleaning the oven, check to see if the door is sealing correctly.
A damaged seal prevents the door from closing shut and only gets worse over time, causing heat to escape the unit. If you see cracks, chips, or splits in your door’s seal, replace it immediately. It is smart to keep at least one back up in your storeroom.
Commercial oven doors work very differently from consumer models. If the oven doors are not aligned, your oven won’t close tightly. Check the hinge screws to make sure they are tight. You may need to replace hinge screws, or even the hinge itself. Check your users’ manual to make sure you level and align the doors properly when replacing hinges.
Sometimes, the oven’s door chain or catch roller can get out of alignment. You may be able to fix this by checking your users’ manual. However, if either of them is damaged, you must replace them immediately.
Reduce Food Spillage
If you find that food is spilling over the edges of trays or pans, check the oven racks. If they are not level, adjust them. On most models, oven racks should be level side to side and 1/8 inch low at the front from back to back. If your sheet pans are warped, replace them. Make sure you’re not overfilling pans or dishes since drippings and food particles make the oven work less precisely and are harder to remove during cleanings.
If the food is browning unevenly or is unexpectedly brown, lower the temperature. Using fewer racks also increases circulation and allows food to cook more evenly. If these tips don’t work, check your thermometer, as outlined earlier in this article.
If your food is shrinking or drying up, try a lower roasting temperature. For some recipes, you can reduce shrinkage and drying by putting a rimming baking sheet filled with water at the bottom of the oven.
Check Your Pilot Light on Gas Models
A high-limit thermostat is a switch that is activated by temperature change and will shut off the gas to prevent the oven from dangerously overheating. Make sure this thermostat is set at the right level and working correctly.
Faulty wiring or a defective heat relay may also be the problem. Also, check the performance of the transformer and ignition cable.
If you see a spark, but the gas won’t light, check the gas valves. If the manual gas valve is closed or the solenoid valve is off or broken, the gas won’t ignite. In these cases, check the gas supply and pressure.
Remember to turn off the gas before repairing any gas appliances. Consult your users’ manual for specific instructions for your model. Gas repairs can be dangerous and may require a professional.
Check Your Temperature Control or Probe
A defective temperature control or probe could affect heat in your unit. This video offers an easy-to-understand guide for checking your ovens’ temperature sensor.
If your oven is producing too much or too little heat, there are some common cause to explore, including:
A Defective Thermocouple
A thermocouple is a sensor used to measure temperature. For gas models, if the thermocouple is not directly in the flame, it won’t get hot enough to open the safety valve. If the thermocouple is directly in the flame, and the pilot still won’t stay lit, then the thermocouple may be defective. Replacing the thermocouple is relatively inexpensive but note that some safety valves are permanently attached to the thermocouple. In this case, the entire valve is replaced. Remember to turn off the gas before working on any gas appliances. Consult your users’ manual for specific instructions for your model.
A Defective Safety Valve
If you have replaced the thermocouple and the pilot light still won’t stay lit, the next step is to replace the safety valve. Remember to turn off the gas before working on any gas appliances. Consult your users’ manual for specific instructions for your model.
Calibrate Your Thermostat
If you set the thermostat and the commercial oven does not heat properly, the thermostat may be out of calibration, or it may be broken or defective. To check your thermostat, set your oven to 350 degrees F and place an oven thermometer inside. If the measurements match, your oven’s thermostat is calibrated. Also, if the temperature is off by more than 40 degrees F, the problem can’t be fixed by calibrating the thermostat.
To calibrate manual oven knobs, remove the knobs. Next, look for an adjustment knob on the backside. The following steps are often all that’s needed to calibrate your unit:
- Note and record of the dial’s position.
- Loosen the screws.
- The notches represent an incremental increase in temperature of ten degrees F. Lower or increase the temperature by moving the dial to the left and right, respectively.
- Once the adjustment is made, tighten the screws and replace the knobs.
- Conduct a second test to ensure the calibrations corrected the issue.
In a professional kitchen, you should schedule time to do a weekly test and calibration. Consult your users’ manual for specific instructions for your model.
If you can’t get the commercial oven to calibrate, replace the thermostat. New thermostats are relatively inexpensive and can be installed with a little help from a users’ manual or manufacturer’s instructions. It’s important to note that commercial oven thermostats have a capillary tube with a bulb attached to the end of it. The bulb senses the temperature and is attached to clips inside the oven. It's important to install the bulb in the same place as the previous thermometer, or it will not read temperatures correctly. If you do not take the time to put the bulb back into the clips, it will not work correctly.
Make Sure Your Timer is Working
If your timer isn’t working, the simplest solution is to replace the timer. Sometimes timers break and should be repaired. McCombs Supply offers a wide range of replacement parts.
However, sometimes, a malfunctioning timer is a clue to more significant issues. If the mechanical timer on your commercial unit isn’t functioning correctly, your line voltage may be off. Voltage not only affects the oven’s temperature but may also throw the timer off. A defective timer is sometimes the first warning sign of wiring issues within the unit. In these cases, use a certified electrician to test your voltage.
Commercial Deep Fryers Maintenance and Repairs
A commercial deep fryer is an integral part of many commercial kitchens and is sometimes the primary cooking tool in some food service operations. Commercial deep fryers a
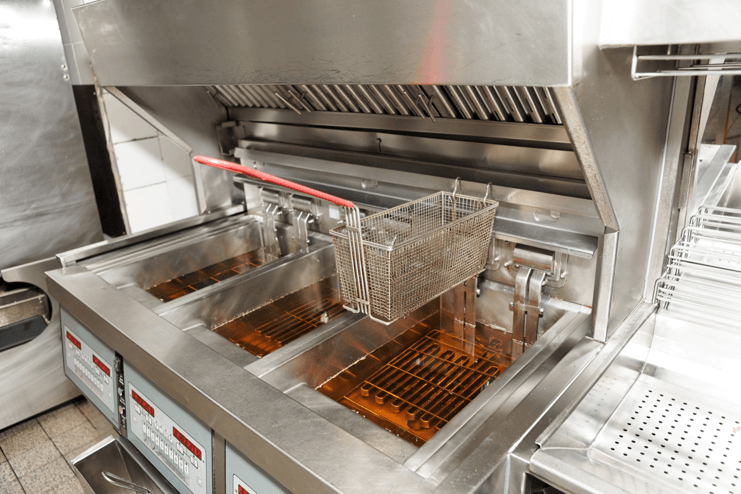
re one of the few pieces of professional equipment that can’t be easily replicated at home. This sturdy piece of equipment offers noticeably superior performance when frying doughnuts, French fries, and other deep-fried foods.
Because professional-grade deep fryers are essential to many commercial kitchens, it’s necessary to keep them working correctly.
Make Sure Your Burners are not Blocked
If you turn on your gas deep fryer burner knobs and notice that some (or all) flames aren’t igniting, you may have clogged burners, sometime referred to as clogged burner orifices.
Grease, food particles, and grime can build up and clog up the burners on your commercial deep fryer. To unblock clogged burners, start by turning off the gas to the unit. Next, run a stiff brush over the burners to remove any particles, debris, or grime. Turn the gas back on to see if this clean up fixed the issue.
Check the Gas Line Integrity
If your burners still produce fluctuating flames after you brush them, you may have low or inconsistent gas pressure due to damaged fuel lines. Turn off the gas and have a professional handle this potentially dangerous issue.
Replace Worn or Broken Thermopiles
The thermopile is part of the pilot light and is the heating element in a commercial deep fryer that converts thermal heat into electric energy. Because industrial or restaurant kitchens continually heat large quantities of oil, the thermopile can wear out. If the pilot light won’t go on, or won’t stay lit, it may be caused by a defective thermopile which should be replaced.
This video offers a good explanation of the process.
Check the Thermostat
The thermostat keeps fryer oil temperature steady. The heating element delivers heat to the fryer basket, but the thermostat monitors the process and pauses the heating element when the oil exceeds the desired temperature.
If the thermostat isn’t working correctly, the oil will overheat, and food will become too crisp or burn. If the oil isn’t hot enough, food can come out pale, oily, or soggy.
Thermostats need to be calibrated to work correctly. A common issue is disconnected wires. Reconnecting the wire or resetting the thermostat is relatively straightforward. If the problem does not resolve, the thermostat may need replacing. Let a qualified technician install a new thermostat for your fryer.
Check Your High Limit Switch
A high-temperature limit switch is a safety feature that deactivates the heating element if it goes past a certain heat level. It does this by monitoring the fryer temperature and sending this information to the thermostat, which then turns the heating element on or off based on the set temperature limits.
If it’s malfunctioning, it could prevent the fryer oil from heating properly. If you find your fryer temperature keeps dropping, even though your thermostat is working correctly, you may be able to fix the issue by replacing the faulty high-limit switch.
To replace the high limit switch, start by emptying the oil from the tank, and turn off the power or gas. The sensing bulb for the high limit switch enters through the side of the tank. You’ll find a large nut in the side of the tank and a smaller nut inside the large nut. Remove both nuts and remove the defective high limit. Replace it with your new high limit switch and replace the nuts. It’s important to remember to screw the larger nut into the tank first, and then the smaller nut. When the job is complete, turn on the gas, refill the fryer, and relight the pilot.
Blender Maintenance and Coupling Repair
Commercial blenders are quite different from consumer models. The units feature sealed motors that rarely require maintenance. But you should still provide the proper care for your commercial blender to keep it working better, longer. Most heavy-duty commercial blenders last from 10 to 15 years. When these units stop working, there are only a few repairs you can make.
Keep the Blender Clean
If you’ve read this far, you know that dirt and grime buildup accelerates wear on almost any type of commercial appliance. Keeping your appliance clean is not only good for food safety, but it’s also an essential step in prolonging the life of your appliances. When cleaning a blender’s base, wipe it down with soap and a damp (but not wet) cloth. Don’t use a hose or water pressure. If water seeps into the motor, it can damage it.
Have a few Backup Jars
If the jar of your blender cracks or breaks, you can replace it. It’s smart to have one or two extras on hand to keep business moving even if an accident happens.
Replace the Coupling
Throughout the life of your commercial blender, your staff will remove and replace the blender jar numerous times. Each time this happens, the connection point between the jar and blender base, called the coupling, gets a little more worn. When the coupling fails, the blender stops working. Couplings are relatively inexpensive and easy to replace. It’s smart to have a few replacements in stock. Prepare by stocking up on replacement couplings.
To replace the coupling, first unplug the blender. On most models, you can slide flat head screwdriver between the underside of the coupling and the blender motor. Then, lift up while giving the screwdriver a turn. The coupling will simply pop off of the blender after several turns. Remove any bits that remain behind, around the steel threads of the motor spindle. Once the motor spindle is clean, thread the new coupling firmly onto the motor spindle. As you use the blender, the coupling will tighten down further, so don’t worry about torquing your turns.
A Final Word
Commercial kitchen appliances are expensive, and they can be the most important assets of any commercial kitchen. Although they are built tough, they also take a lot of abuse. Nonstop operation will lead to appliance breakdowns and the need for repairs and replacement parts.
If you take care of your appliances, clean them thoroughly, and follow recommended maintenance schedules, not only will your appliances last longer, but you’ll also spot trouble early one.
While making repairs may seem intimidating at first, you’ll find that many common issues are easy to repair with a little online research and quality replacement parts from McCombs Supply. Understanding how appliances work and how to fix simple problems also allows your team to make repairs in real-time, without waiting for repair services to show up hours or even days later.
While some situations will require certified experts, the majority of appliance repair is small and relatively easy to complete. By getting more familiar with your commercial appliances, you stay in control of your kitchen and your business.